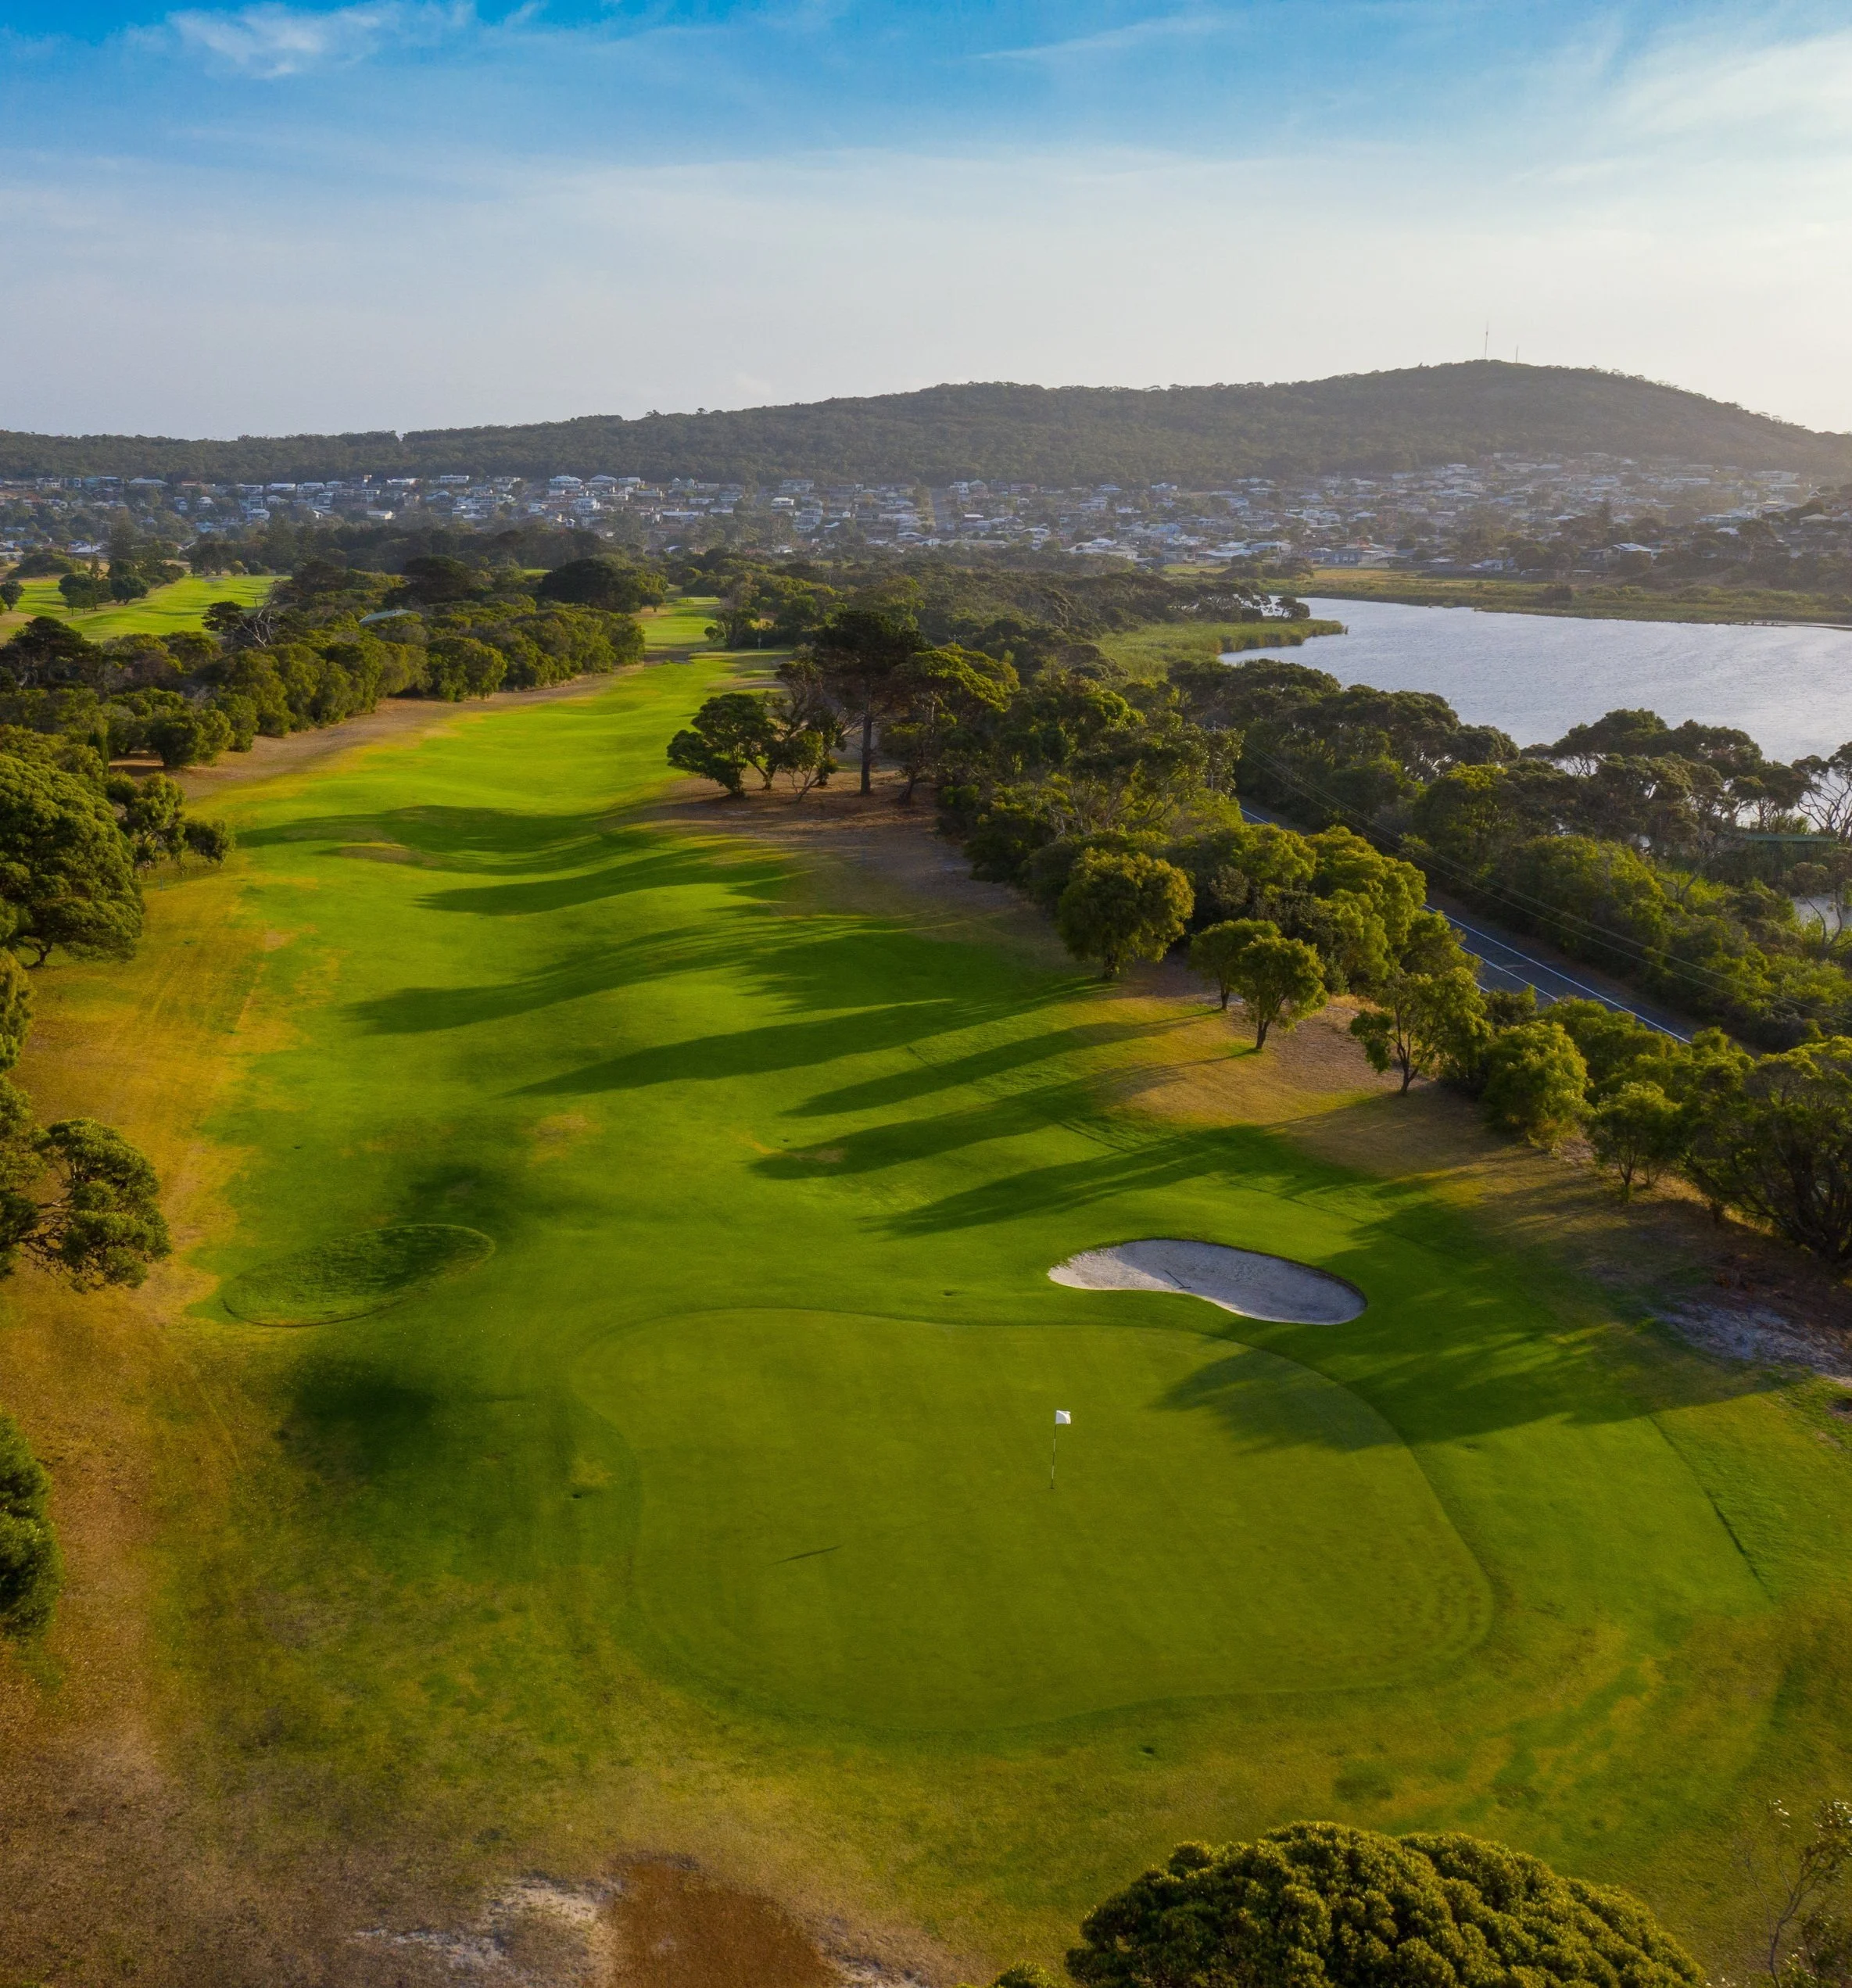
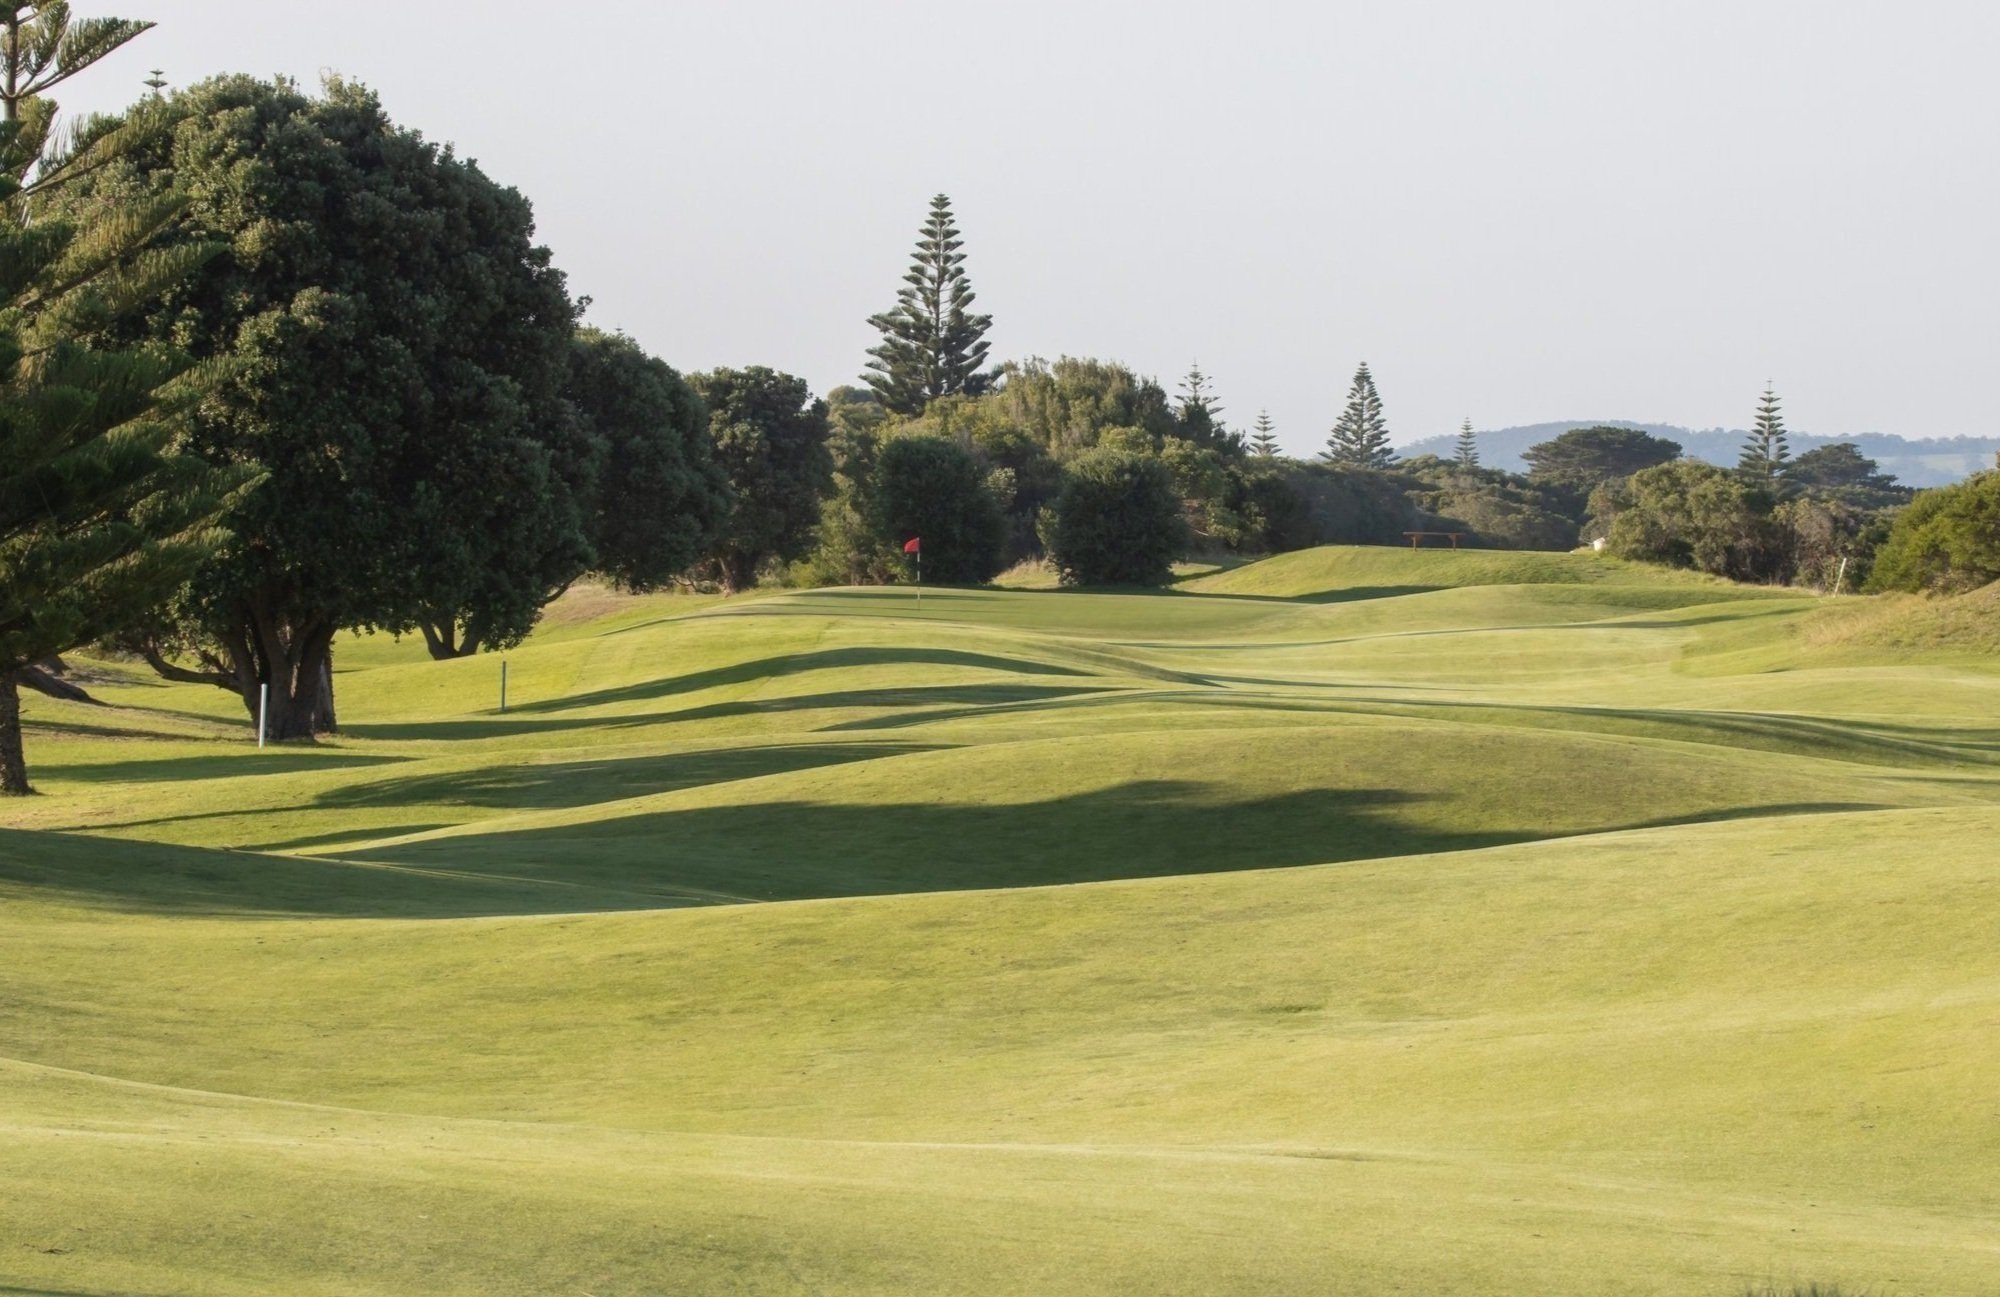
Thank you to Steve Barnes of S B PHOTOGRAPHY GREAT SOUTHERN for these amazing aerial photographs of our historic links course.
ALBANY GOLF CLUB - COURSE TOUR
Hole 1 - Whaleback
The main feature of this 355 metre par 4 is the large ridge in the middle of the fairway that resembles a whale's back. The green, which slopes away three sides, is only visible from the tee and the Men are forced to shoot through a narrow gap between Peppermint trees. Unless the drive is perfectly down the middle, the ball has a very good chance of rolling off the Whale's back to either side of the fairway into the rough.
Hole 2 - Memorial Drive
Rated number 1 on the card this 398 metre par 4 is one of the few true dog legs on the course. The green is totally blind from the elevated tee due to an assortment of bushes and trees blocking the view of the fairway. The chosen line is towards the War Memorial on Mount Clarence in the distance where a good drive will allow a second shot into a long green ridged to the left and with many other subtle contours to contend with.
Hole 3 - Peppermint Hill
The 292 metre par 4 is a dog leg to the right and considerably easier to the play than the previous hole. In favourable conditions, a big hitter can reach the green but risks ending up in a very nasty traditional pot bunker added to the layout when the green was replaced in 2002. Stay left if possible, as going right will bring trouble.
Hole 4 - The Old Clubhouse
Not so aptly named since the order of the course was changed, this 496 metre par 5 provides a good birdie opportunity for the player who is playing well. There is plenty of room for the big hitter from the elevated tee provided the ball does not stray right. The large green lies right in front of the old clubhouse site and is tended by bunkers on the front and rear left and the front right.
Hole 5 - Links Road
This relatively short par 4 of just 327 metres doesn't play as easy as the length would suggest. The fairway slopes from left to right meaning that a brave tee shot must be hit on a line left of centre which brings a steep fall away on the left side into play. The green slopes from back to front and is usually receptive to a well struck approach shot.
Hole 6 - The Old Road
Replaced in 2002 this 171 metre par 3 again requires accuracy and thoughtful club selection. There is still the steep slope towards the road, which features on every hole on this side of the course, to contend with along with two bunkers to the right of the green. Best results are obtained by aiming a little left.
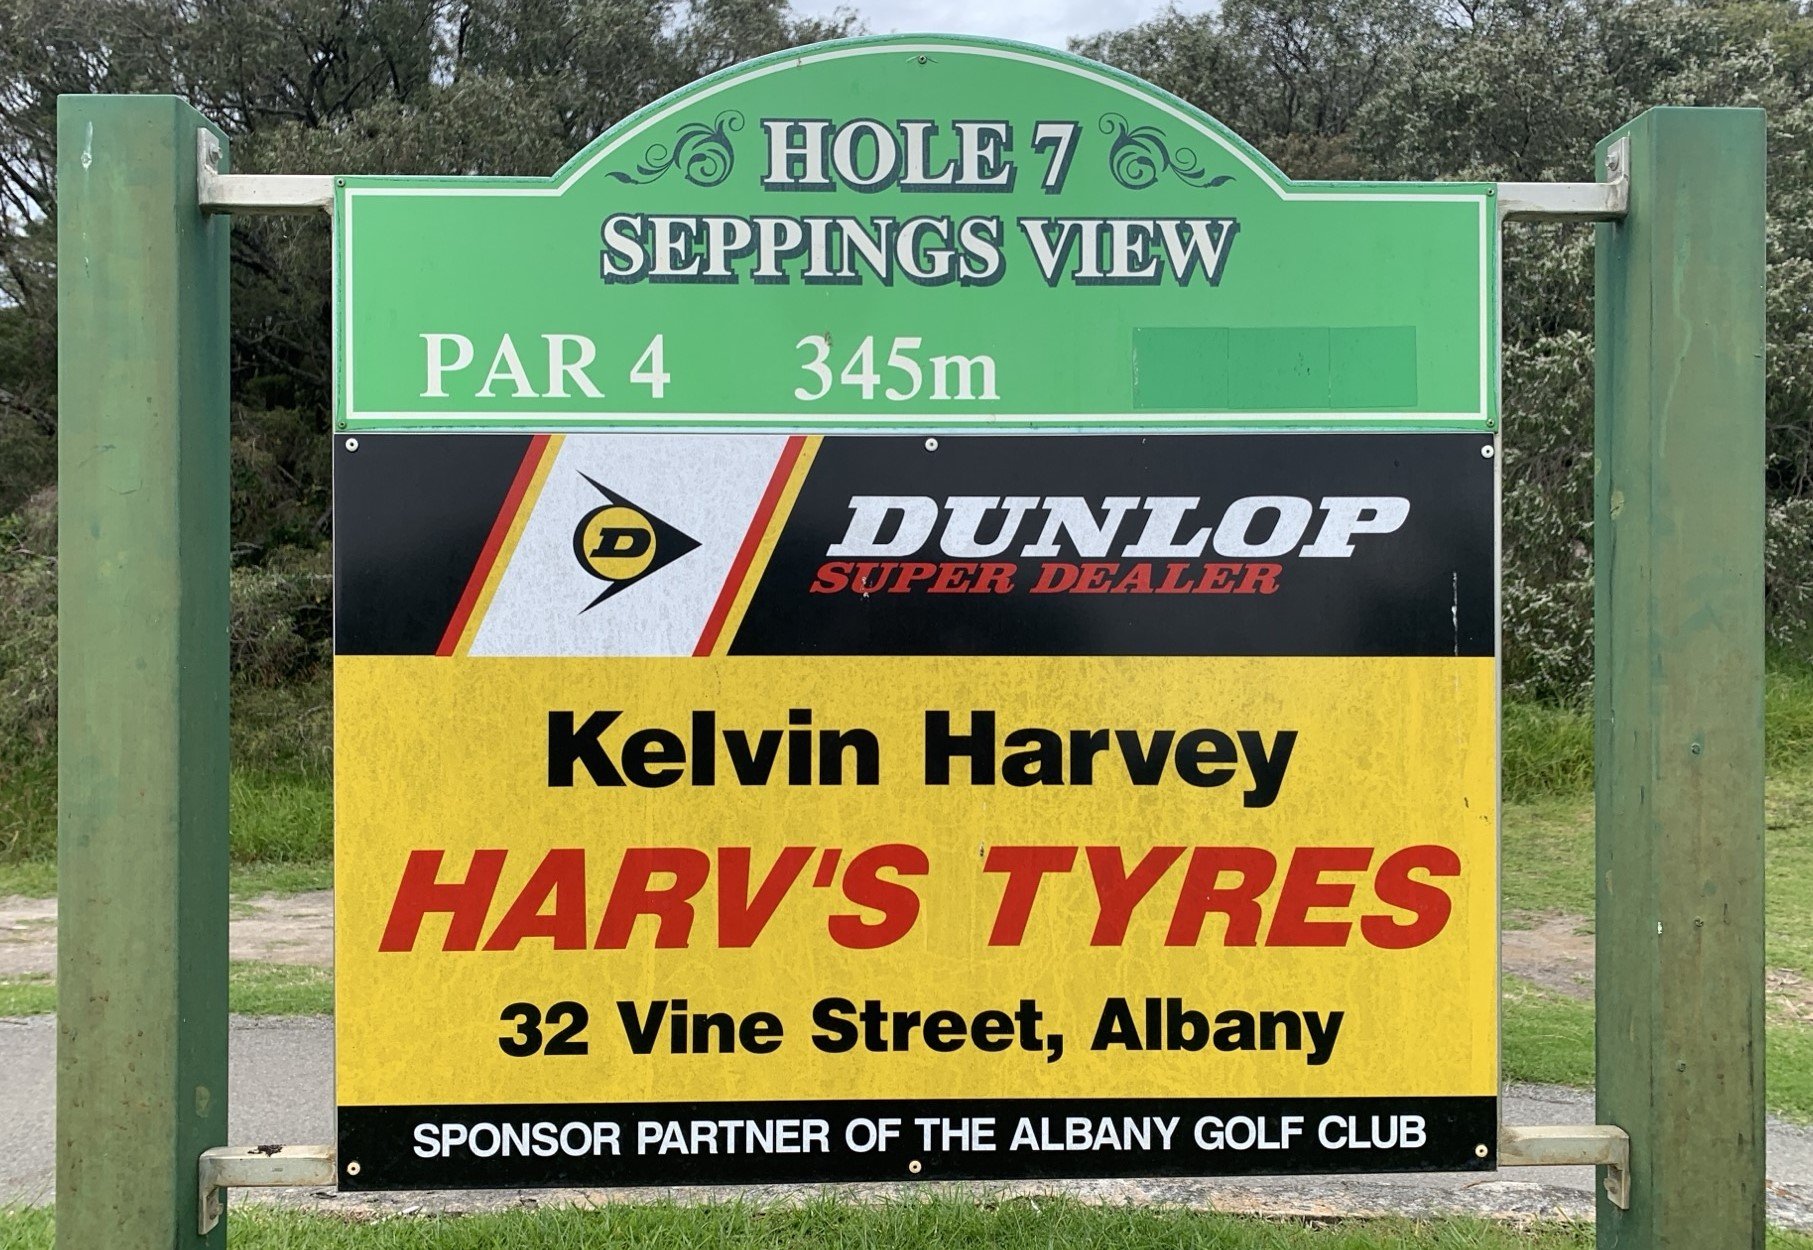
Hole 7 - Seppings View
This 343 metre par 4 provides the relief of a generous fairway to shoot into with most balls ending up in the central valley leaving a second shot requiring more elevation to reach the green placed at the top of the next hill. Big hitters can shoot over the large pines to the left to avoid the valley, but risk a second shot from a strategically placed pot bunker behind. A deep drop off to the right of the green and the threat of a trip down the hill to the road to the left require an accurate second shot.
Hole 8 - Devil's Ridge
Although this 134 metre par 3 does not look difficult from the tree lined setting of the tee, the green is very exposed with sharp drop offs to both the left and right requiring a player to be careful with club choice and direction.
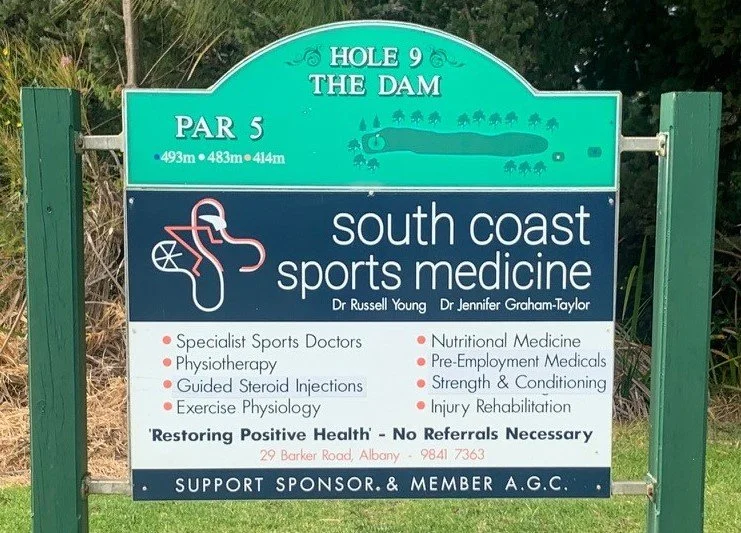
Hole 9 - The Dam
This 493 metre par 5 gets it's name from the 3 metre hollow in the already decidely undulating fairway that often captures a player's second shot. Accuracy is again a requirement due the ever present drop off to the road on the left and a well vegetated rightside of the fairway leading to a plateau green falling away to the right, left and rear.
Hole 10 - The Keyhole
A 163 metre par 3 that is very testing to play on a day when the wind is strong as the tee shot is played down a long and narrow tunnel of trees and bush. The exposed green that slopes downwards at every point requires a delicate second shot if the first was wayward or did not stick when it hit the green.
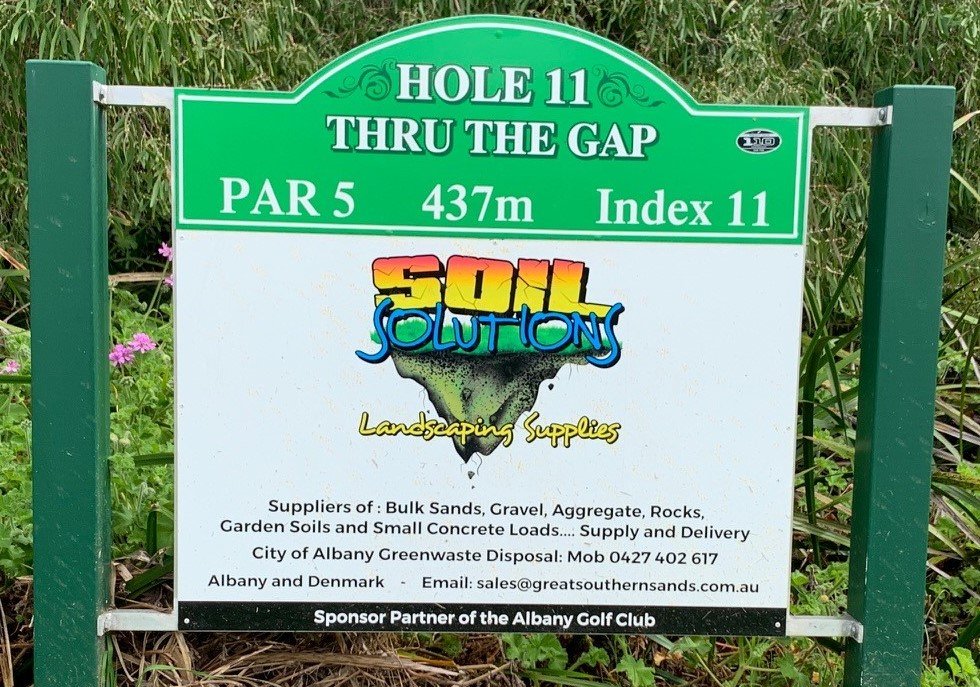
Hole 11 - Thru the Gap
At 472 metres this is the toughest of the par 5's on the course due to the need for a very accurate drive to set up a reasonable second shot. Straying left or right spells big trouble and little chance of getting to the green for a reasonable number of shots. Playing to the right of the fairway to get a shot through the gap at the end of the driving area is preferable to the left where the green will not be visible for the second shot due to a small but effectively placed hill. One of the course's most feared holes even though there are no bunkers.
Hole 12 - Seaview
Probably the most picturesque out-look from a tee anywhere on the course, this 342 metre par 4 looks easy but being entirely exposed to the wind off Middleton Beach can be very testing. Hitting to the left will put the ball out of bounds and a careful second shot is required as a mound in front of the green can dramatically deflect a players ball.
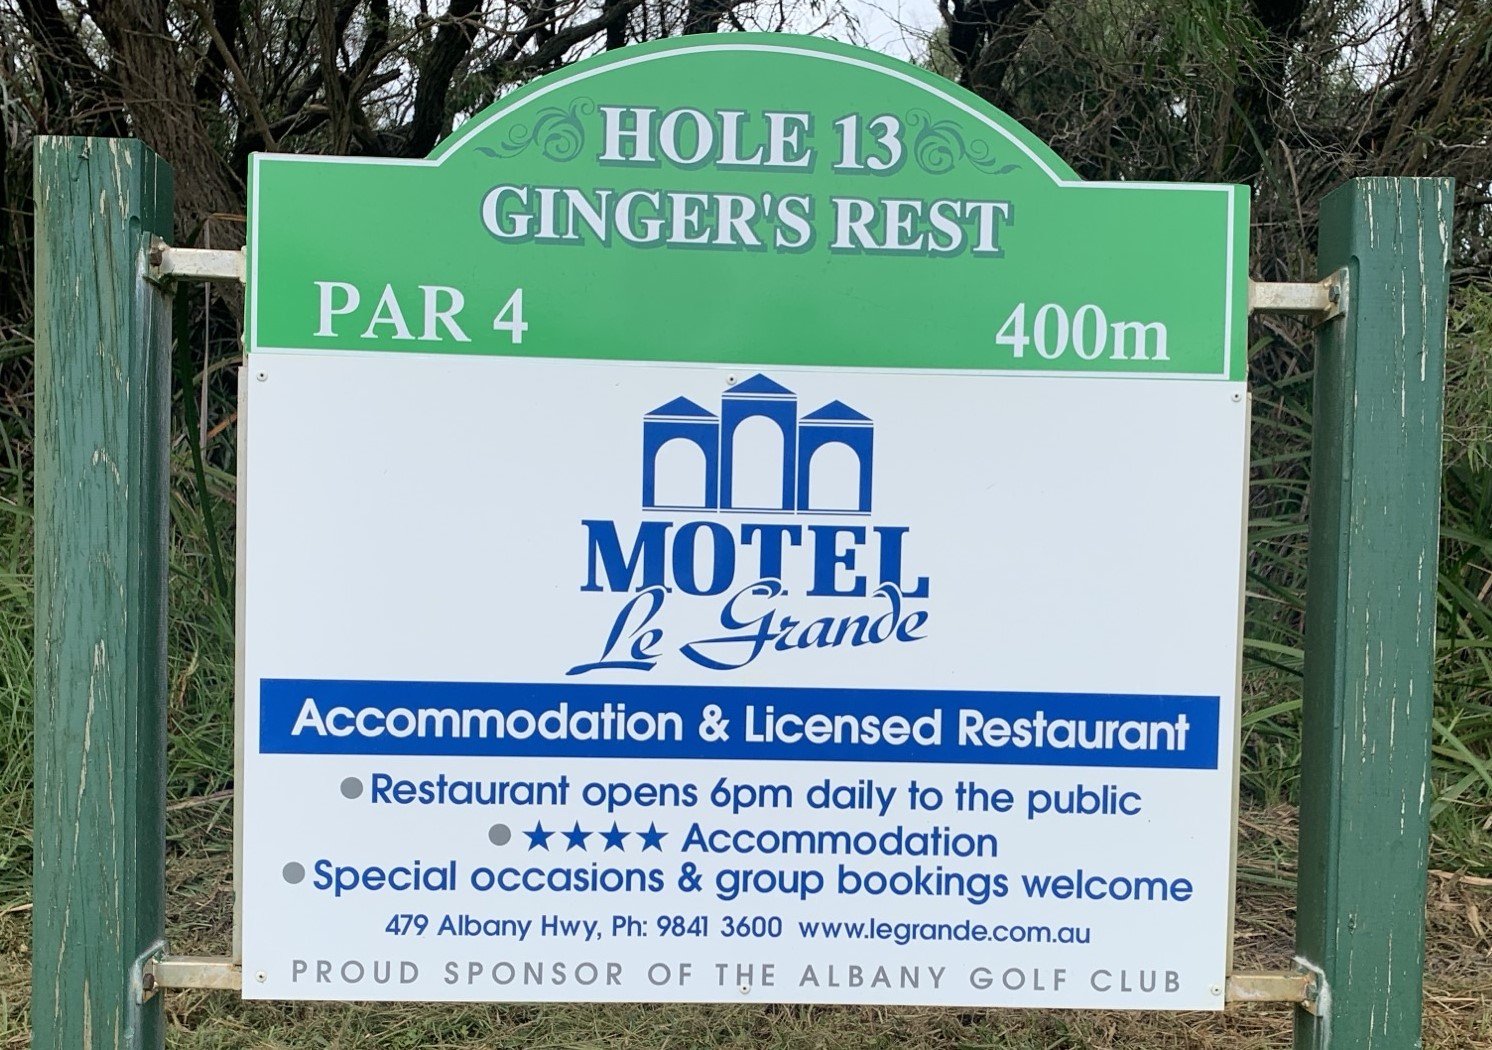
Hole 13 - Ginger’s Rest
The longest par 4 on the course at 400 metres, this hole is a challenge for any player who is not a long hitter, specially if the wind is blowing as the severely undulating fairway provides a challenging second shot to another plateau green that falls away to the rear.
Hole 14 - By the Pines
Depending on the wind this exposed 126 metre par 3 will doubtless have you choosing a variety of clubs over time due to the variable conditions as you shoot towards the old clubhouse site to a well bunkered two-tiered green.
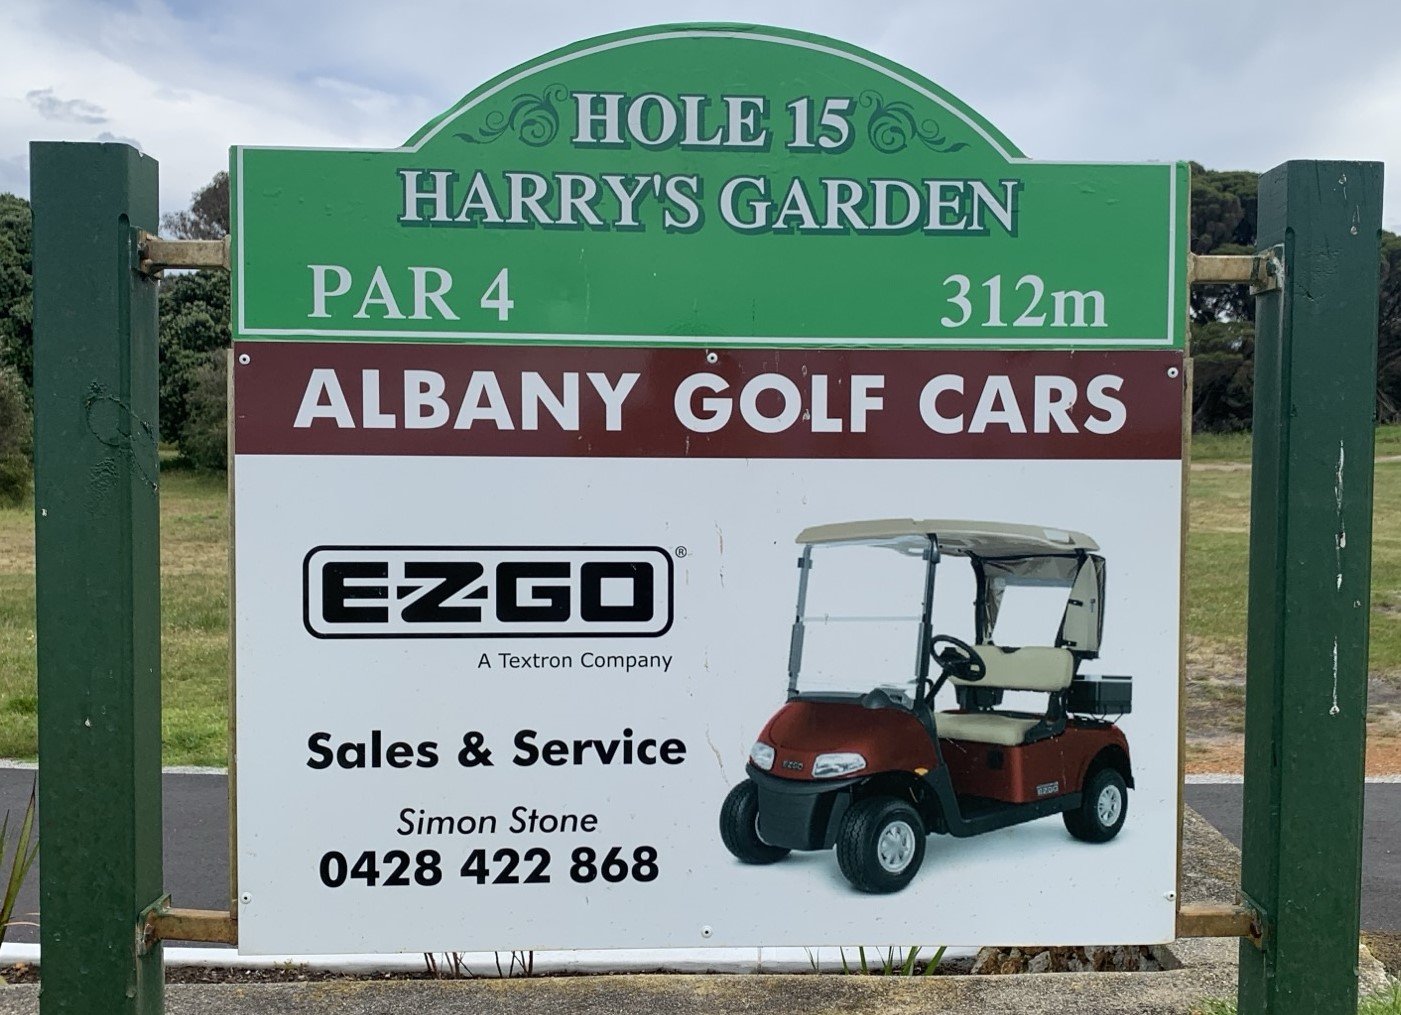
Hole 15 - Harry’s Garden
This short 312 metre par 4 provides the most open tee shot on the course. Local knowledge helps with the second shot as a misdirected hit to the mound on the right of the green has the ball heading off across to the left and down a 2 metre drop.
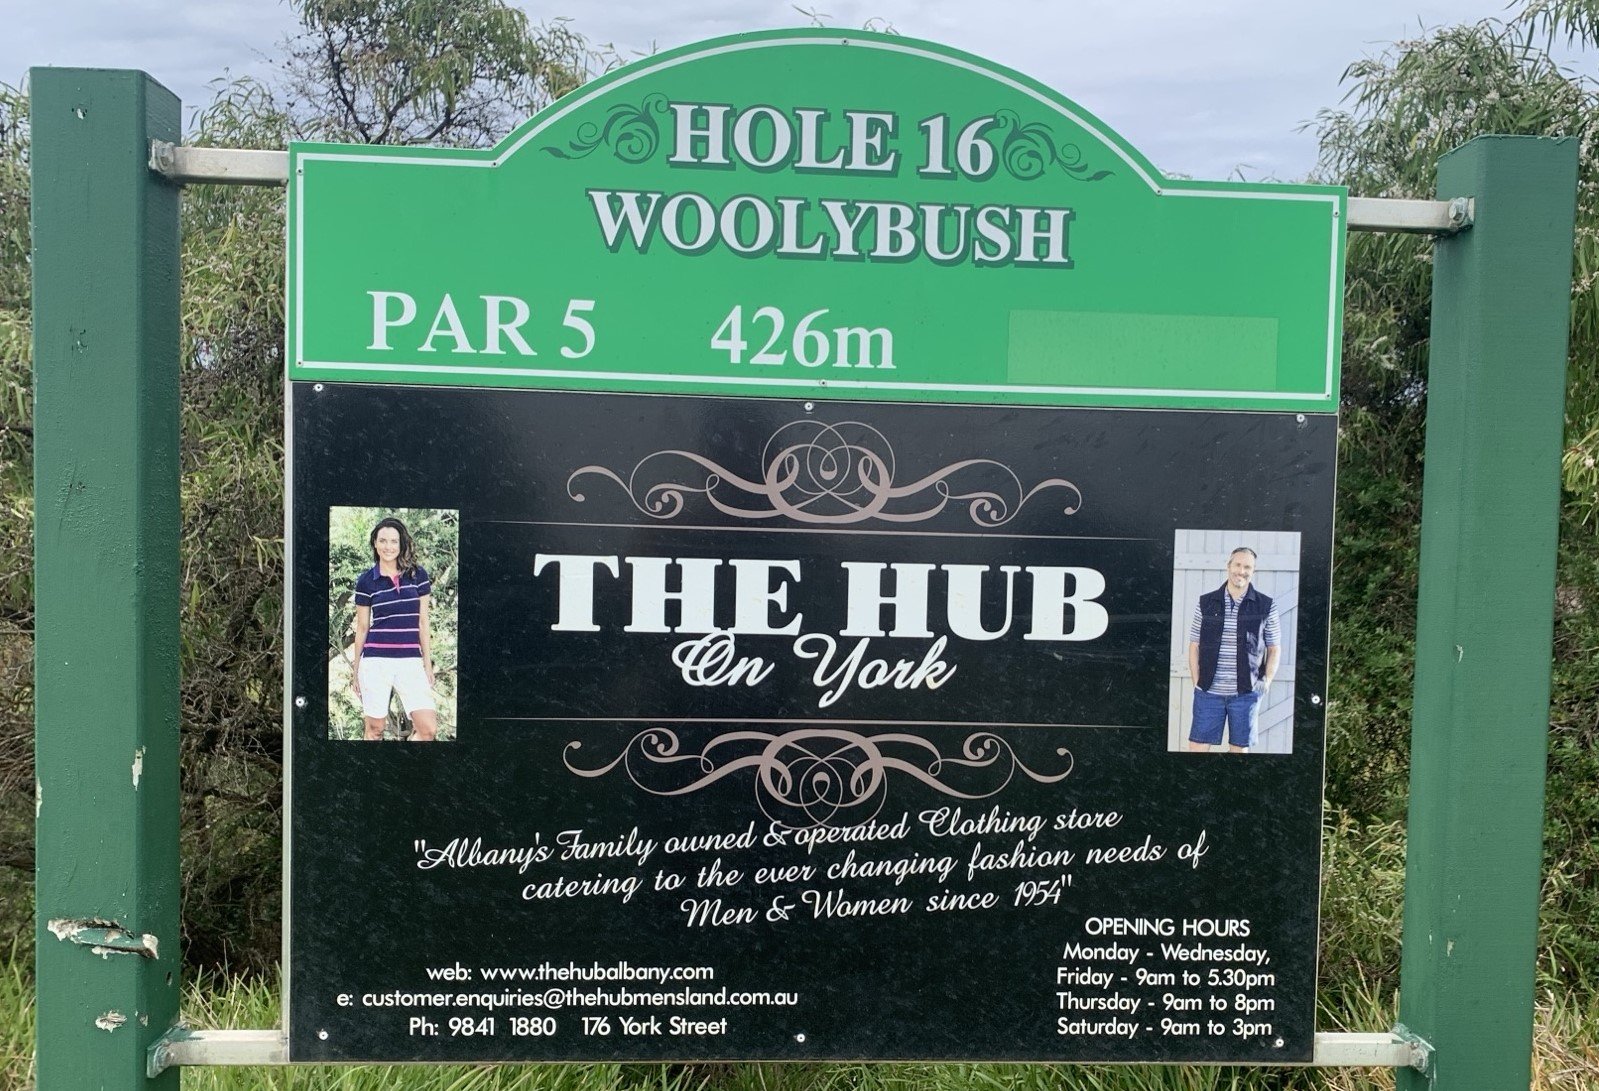
Hole 16 - Woolybush
A great birdie chance exists on this 496 metre par 5 as there is a generous driving area as long as the player keeps left through the narrow opening to the fairway. There are two bunkers to the right but shooting through the green will result in problems due to a 3 metre drop at the back.
Hole 17 - The Gully
A relatively easy 358 metre par 4 that demands a lofted second shot to avoid a hollow in front of the green that will prevent run if it is damp.
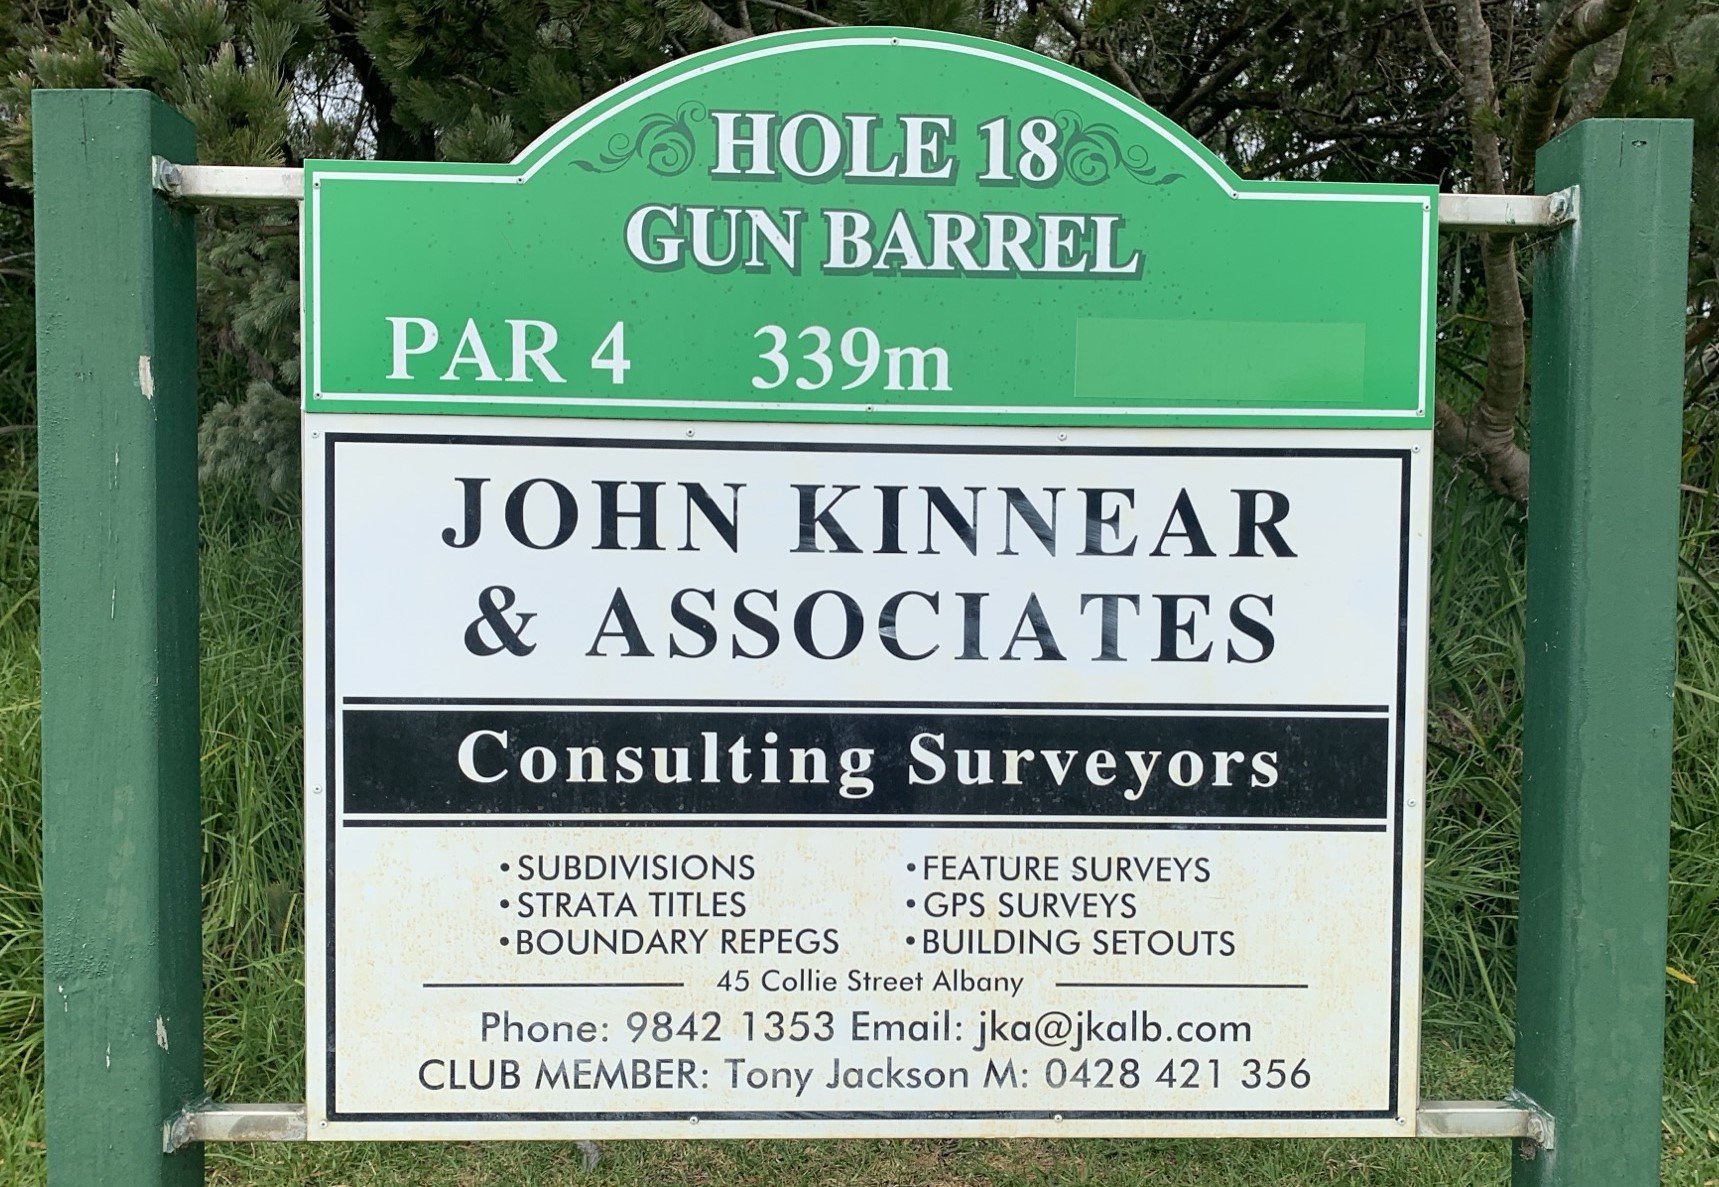
Hole 18 - Gun Barrel
Rated 3 on the card, this 390 metre par 4 is tough due to the dense rough that lines the fairway all the way down to the green. An undulating fairway compounds an already challenging second shot due to the 40 metres of dead ground in front of the green that makes calculation of the distance difficult.


